Ray Traced Global Illumination
How to configure the ReShade RTGI shader.
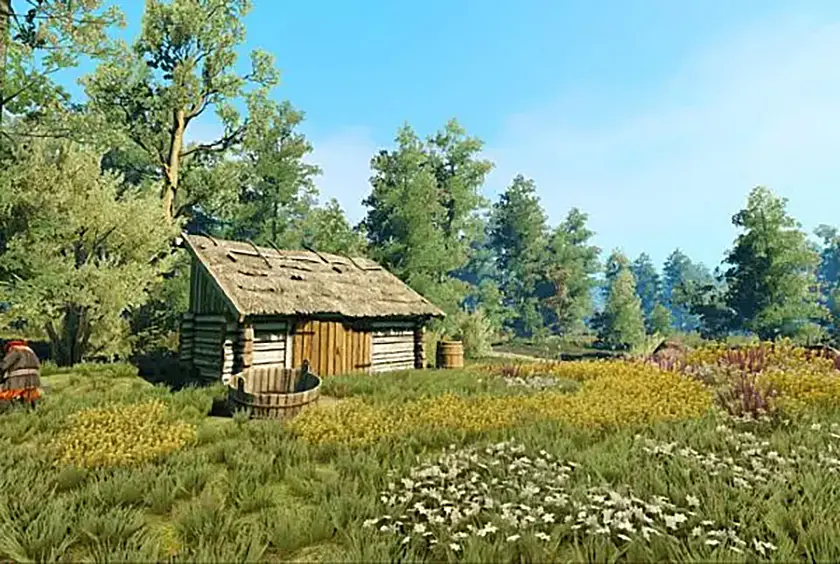
The ReShade Ray Traced Global Illumination Shader (RTGI) adds fully dynamic, realistic and immersive ray traced lighting to video games. For a detailed description, please refer to the corresponding project page, this page will cover the setup and configuration of the effect.
It works best on older games without a sophisticated lighting engine on their own, as they usually only cover direct lighting or use precomputed lighting that does not update for dynamic objects or light sources. With the right ingame settings and a subtler preset, RTGI can be easily used on recent games as well.
Prerequisites
The guide only covers the usage, sliders and best practices of RTGI and assumes you completed the prior guide pages surrounding the installation of ReShade, custom shaders and the depth buffer.
To make sure RTGI is working correctly, enable it in the ReShade GUI (the effect is called RTGlobalIllumation). if nothing changes on the screen, most likely the depth buffer is either misconfigured or not available. Please correct this before proceeding.
Quality and Appearance
One of the most important steps to create realistic lighting without leaving performance on the able is properly configuring the radius and quality of the effect. The main sliders which control the quality are Number of Rays and Number of Steps per Ray. More rays result in more stable lighting, more steps along each ray result in more precise sampling, i.e. increased detail around small objects.
RTGI computes its lighting in screen space, meaning only light emitters or shadow casters within the frame and in light of sight to the camera are visible to the effect. For each pixel on the screen, rays are cast and along each ray, the scene is analyzed, one step (sample) at a time. If the rays are longer, the steps are longer as well. if the ray travels offscreen, it is aborted.
This means that the amount of samples – which accounts for most of the performance – is roughly the amount of rays times the amount of steps per ray. Too high ray lengths result in lower quality, as more rays leave the screen, potential samples are wasted. A ray with 8 steps has the same quality as a ray with 16 steps, where the last 8 are aborted due to being outside the frame.
To shape the lighting, first decide whether short radius, precise shadowing is wanted or large scale, smooth lighting which really ties the room together. Set the Amount of Steps per Ray fairly high, the Amount of Steps to a medium setting and tweak the Ray Length to your preferences. Ideally, the lighting will cover much of the screen area. Pushing the radius higher will eventually result in no further spreading but slowly decreasing quality, which is an indication that many rays are clipped at the screen edges.
Then, decrease the amount of steps until small details start to erode. Finally, adjust the amount of steps for the desired quality and motion stability / performance balance.
The Z Thickness slider controls how deep objects extend into the scene. As RTGI can only see the side of an object that is facing the camera, it has no indication whether an object is very thin on the back side or not. A heuristic approach has to be taken to avoid halos behind objects. Adjust the slider to keep objects grounded but without a dark (or bright) halo around them. Look out for thin features like the feet of the player character or fenceposts.
Blending
So far, only the performance and radius setting has been tweaked. To tweak the intensity of the effect, first make sure it extends over the entire scene by setting the Fade Out Range fairly high. Far objects might look strange, but we’ll get to that.
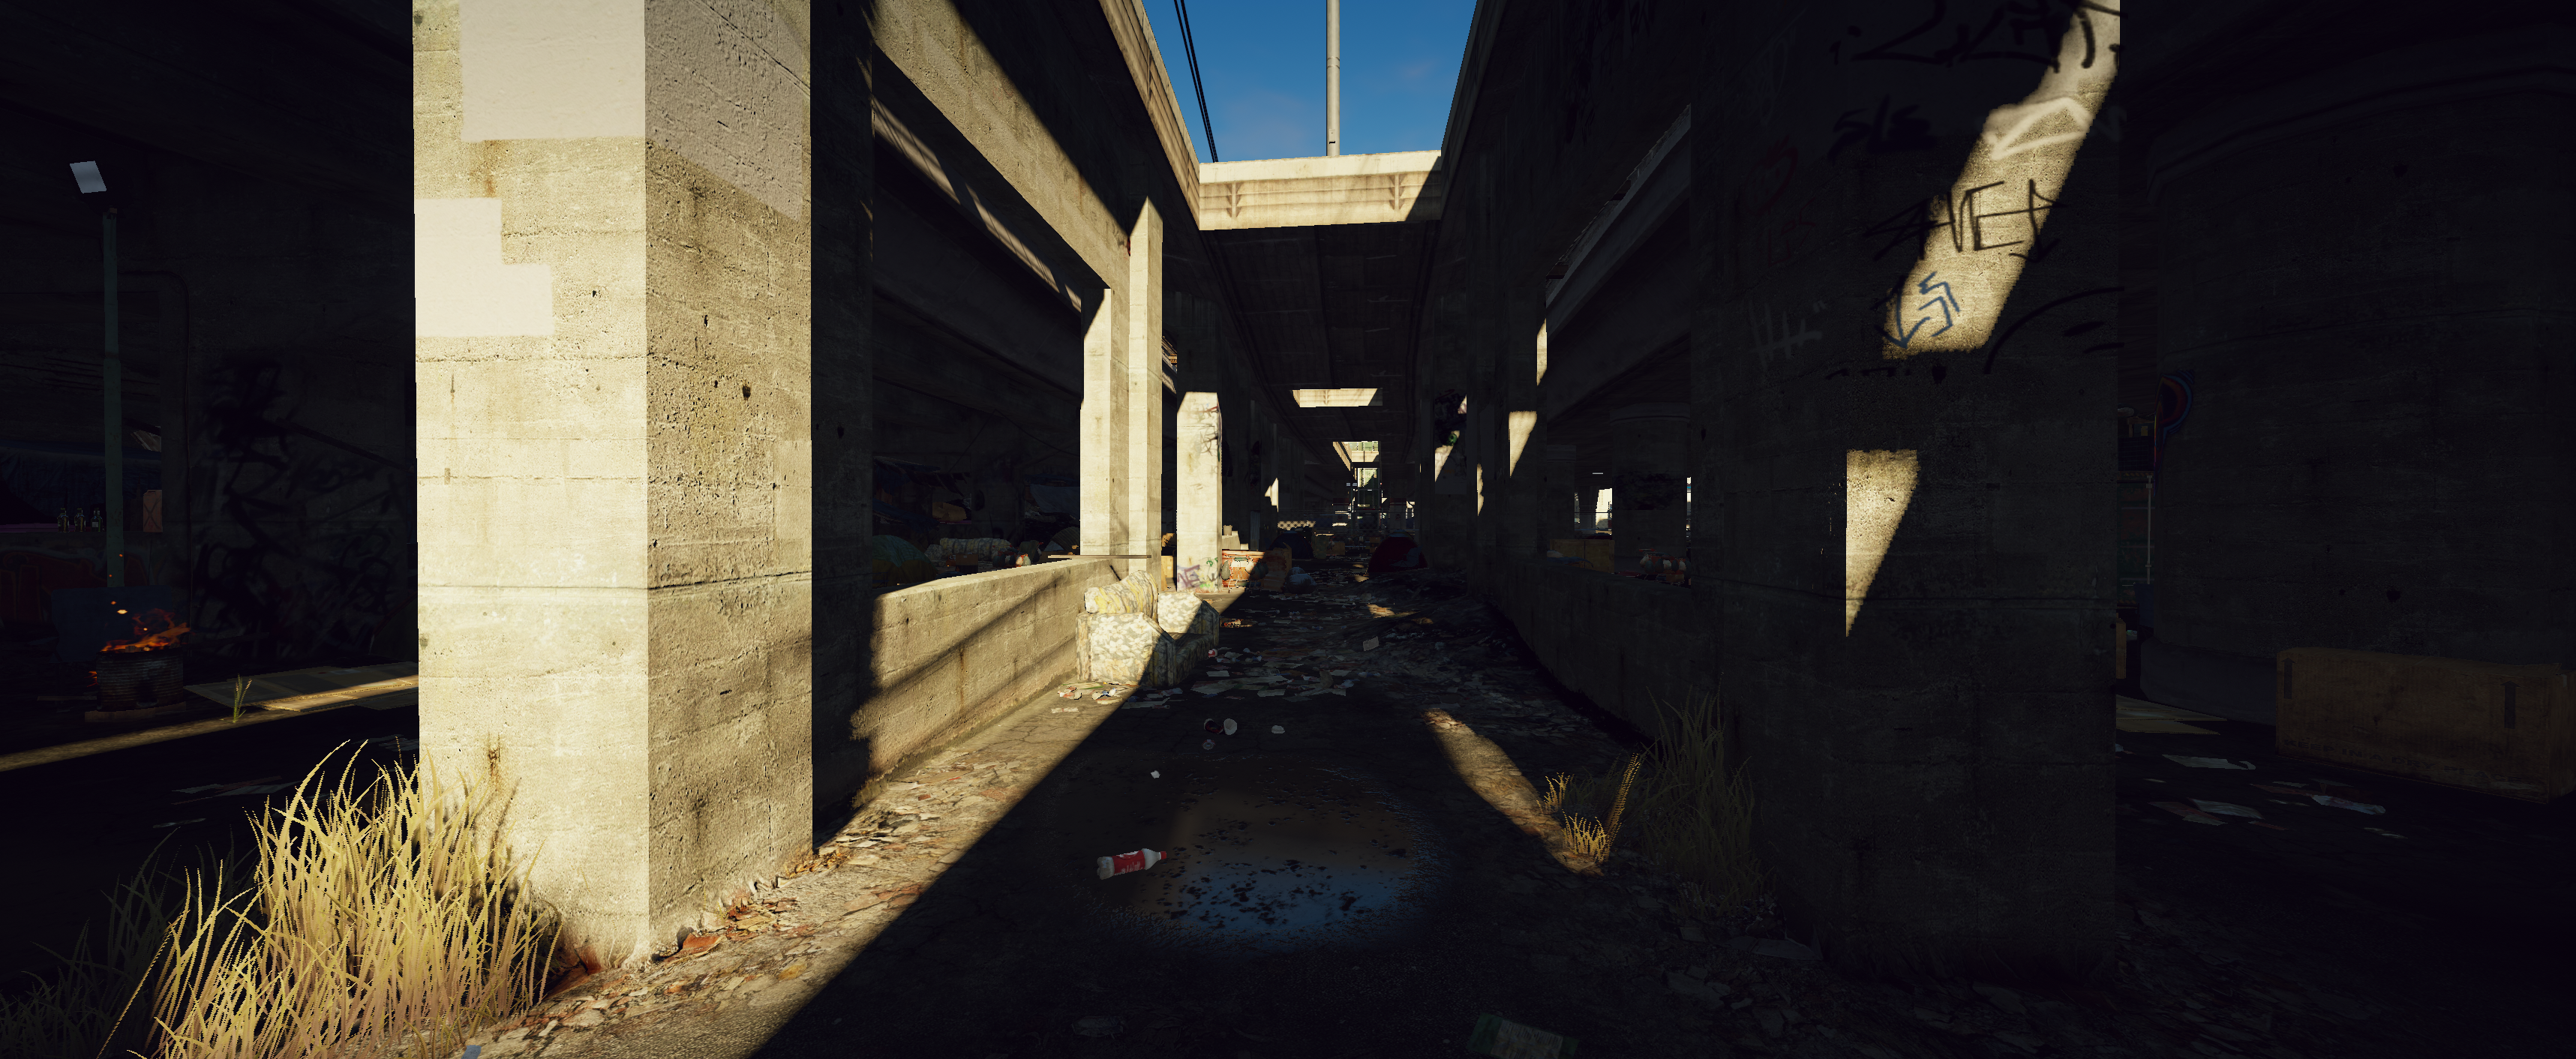
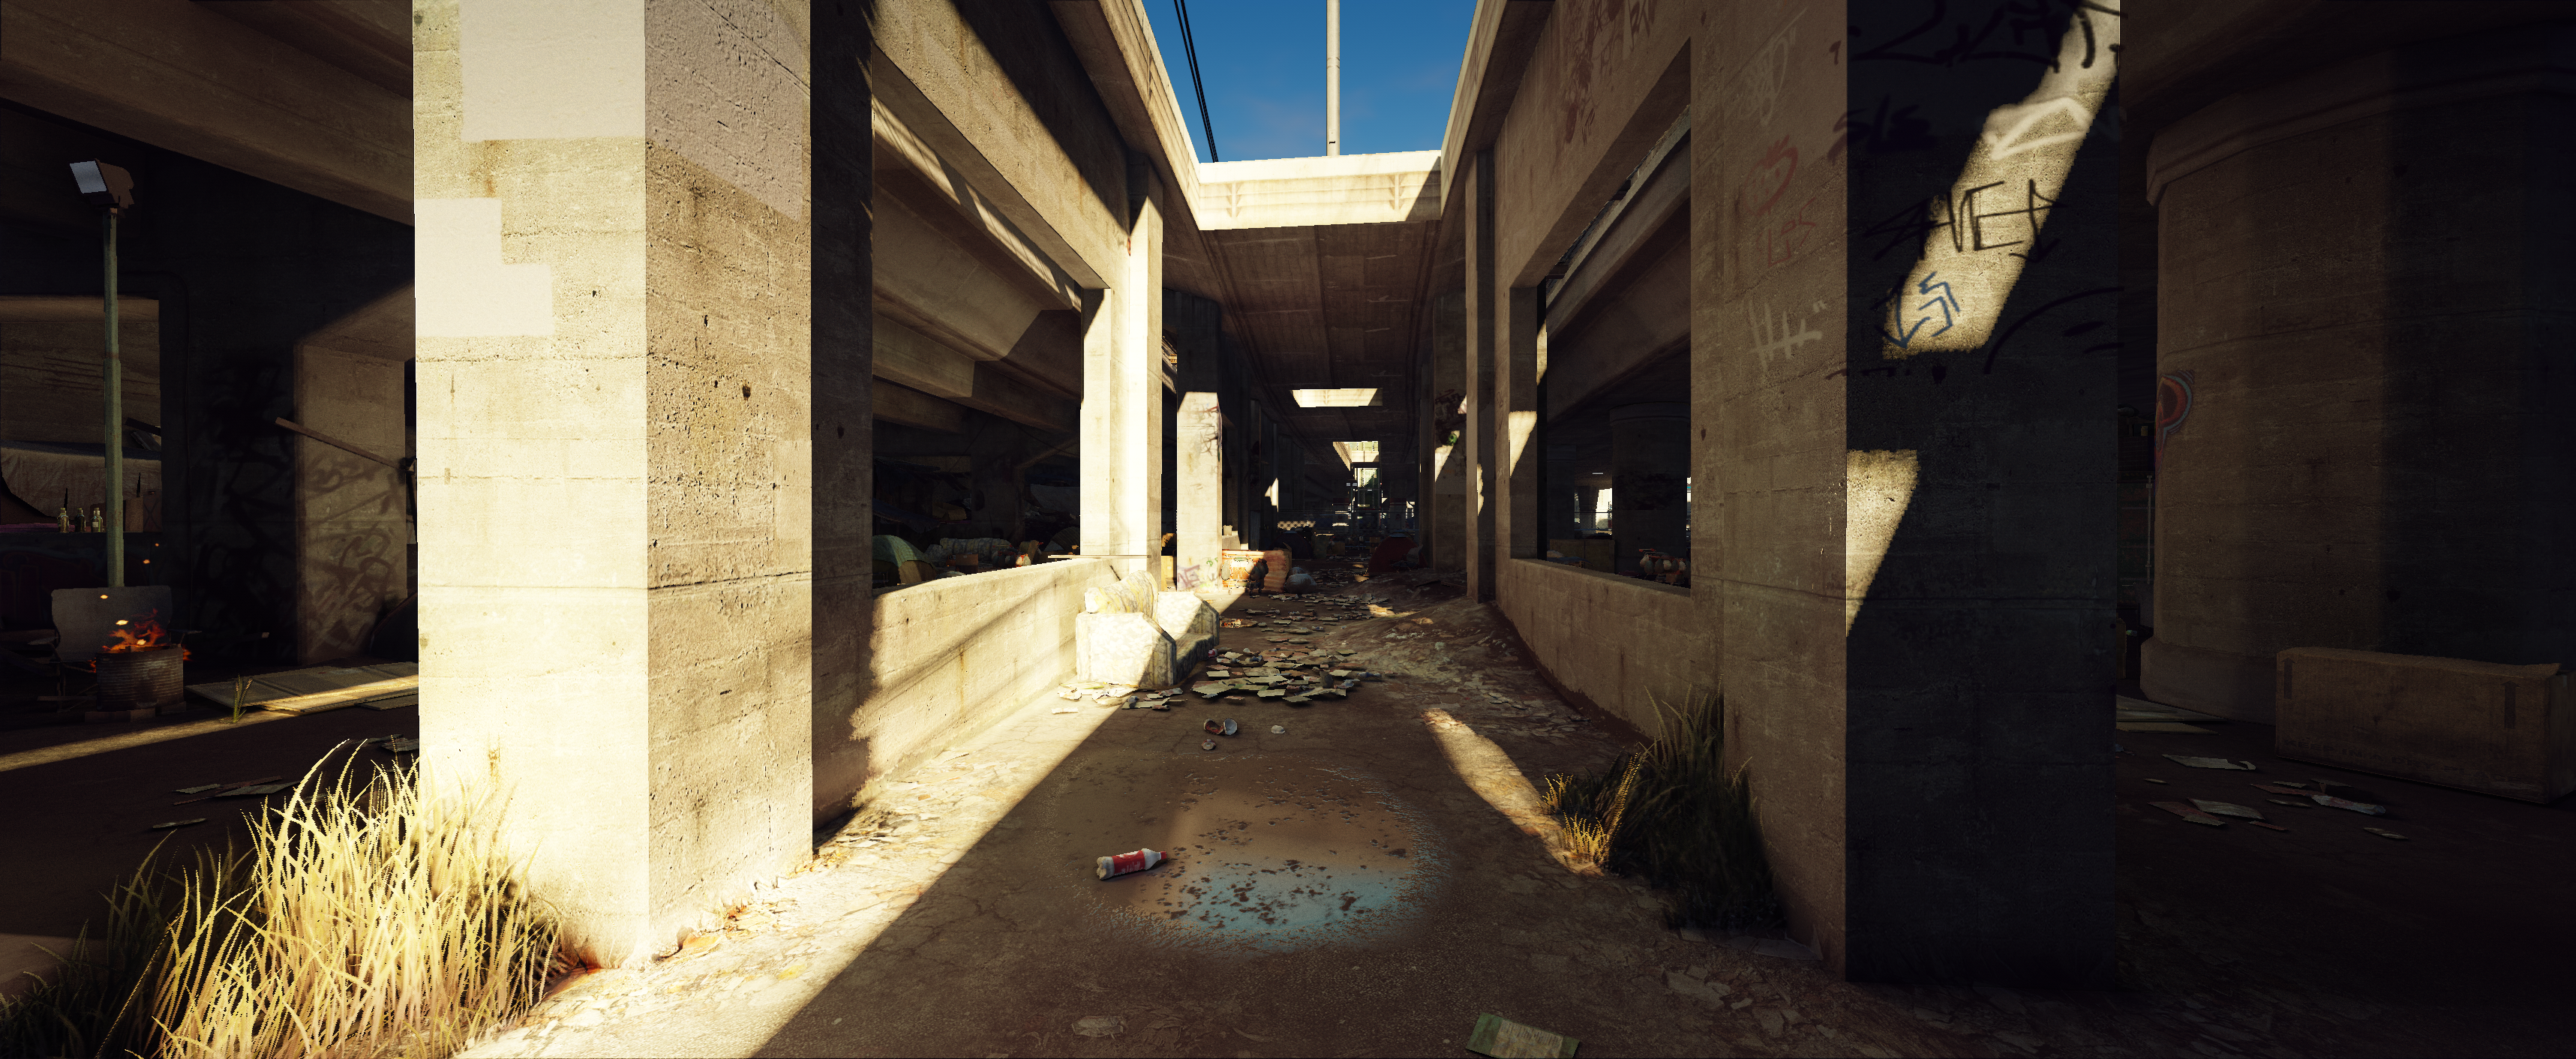
Now, set the Bounce Lighting Intensity to 0. This will leave only the Ambient Occlusion (shadowing) part of the effect. Proceed by tweaking the Ambient Occlusion Intensity until it looks just a bit too strong. Now, raise the Bounce Lighting Intensity again, which will counteract the shadowing in light exposed areas. Set it until it looks correct. The bounce lighting should not become brighter than the objects casting it!
Finally, lower the fade out range to remove the lighting from far areas. Due to game effects like fog, bloom and smoke, depth based effects rarely look good on far areas, so keep the effect close range only. At this point, you might want to revisit the radius and quality settings again as subtle lighting allows for low quality settings and intense lighting requires more rays.